A short one today, but an important task got done toward the engine rebuild: we took the rusted-up, junk old pistons off the connecting rods we're planning to use.In practically all internal-combustion engines, including the small-block Chevy V8, the pistons are attached to the connecting rods with a pin, called the "wrist pin" because the piston is able to rock back and forth relative to the rod, like a hand at the end of a forearm. (If they couldn't do that, the engine wouldn't be able to turn.) There are two ways to attach these things in the SBC: pressed or free-floating.
Free-floating wrist pins aren't affixed to the piston or the rod, but instead are held in place with spring clips at either end that keep them from sliding out. They relieve some internal friction and are usually used in applications that are expected to run at high RPM for a long time, and they're easier to install, but they're more expensive and not really necessary for most engines that are going to run on the street.
Pressed pins are the way they did it in the factory back in ze day. They're free on the piston (as they have to be to function), but fixed to the rod by what mechanical engineers call an interference fit--the pin's outside diameter is very slightly larger than the inside diameter of the bushing in the rod. Traditionally they'd be put together by brute force, with a hydraulic press (hence the name), although nowadays it's more common to heat the rod and cool the pin, so that they slide together easily and then lock together when their temperatures reach equilibrium.
However it's done, to get them out again generally requires the use of a press, as well as some sort of fixture to hold the piston in place and a shaft or punch (technically a mandrel) to drive the pin out. Specialized tools that are perfectly adapted to this task are commercially available! And very expensive, so we don't have them. :)
Instead, we did it like this.
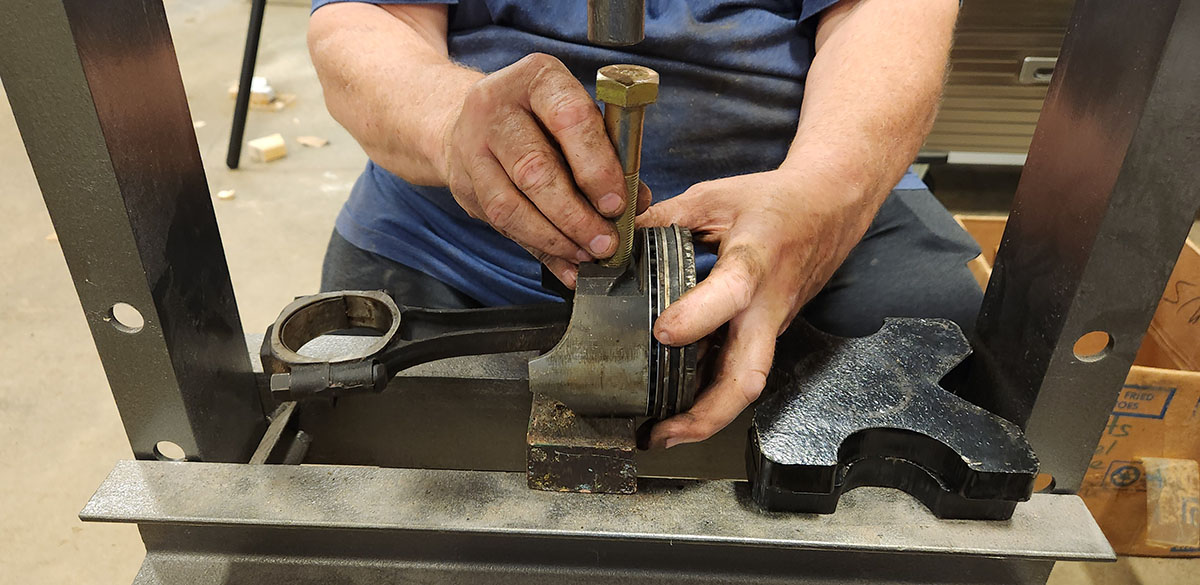
Stage 1: a solid block under the side of the piston provides the greatest stability, although the pin can't come out very far since there's no hole for it to protrude into. This stage was only about breaking the thing free and getting it started moving. If it was properly set to begin with and the rod isn't badly stretched and worn, the pin should resist the press at first and then bust free with a loud bang, which all eight of ours did.
Those are Dad's hands, btw. I was running the bottle jack just out of shot above the business end of the press. Oh yeah, speaking of which, I should probably include an example of the kind of press we were using, since I failed to get a photo of the whole apparatus.
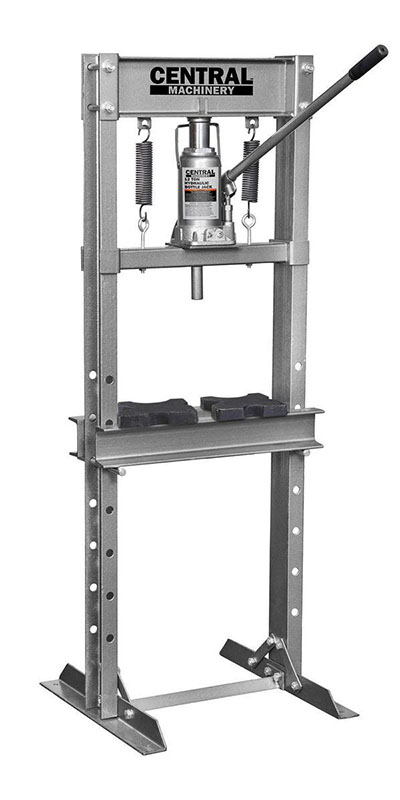
The one we have in the VAB is almost exactly like this; in fact, this is probably just the slightly newer version of the same thing, since Dad almost certainly bought his at Harbor Freight.
And yes, the thing we used for a mandrel is just a big honking bolt we found in the giant rack of hardware that came with the building. It's the perfect size!
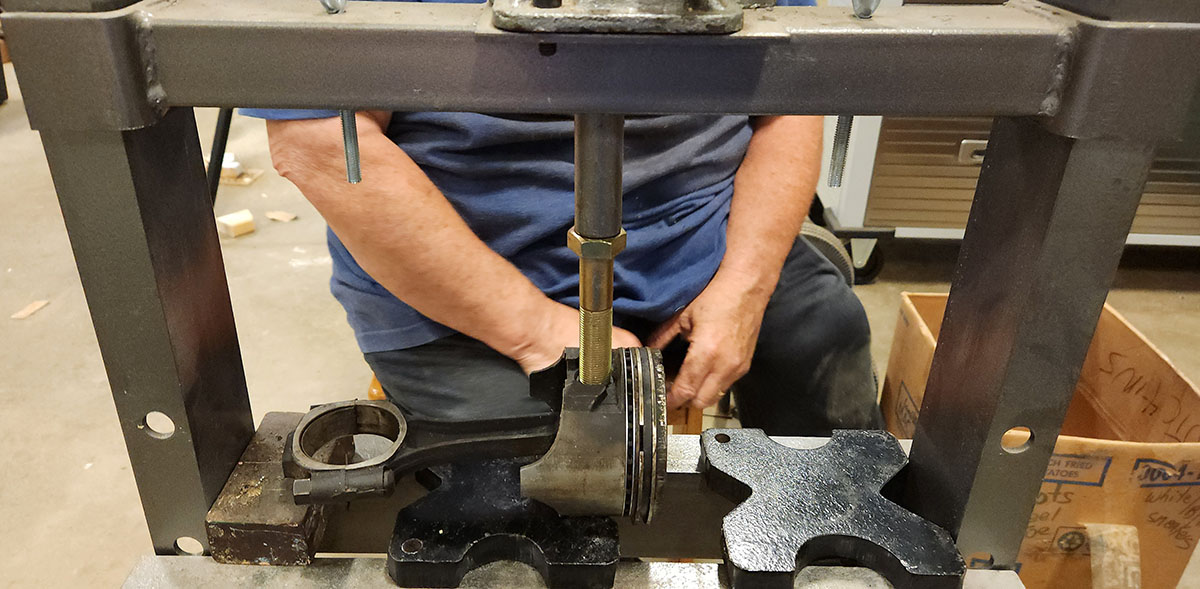
Stage 2: with the pin broken free, the solid block is replaced with one with a notch in it that will allow the pin to be pushed below the surface. This was a little more precarious to balance, because the flats on the sides of the pistons aren't exactly square and the whole thing was very sensitive to anything being even slightly out of position. Only with the bolt straight up-and-down could progress be made without causing the piston to tip and risk binding, or worse, damaging the rod bushing.
It should be noted here that "broken free" only means the press could move the pin through the bushing relatively smoothly. It doesn't meant that the pins were just ready to drop out. In an operation like this, if the initial break is followed by the pin coming out really easily, that's a sign that something is badly worn and the rod is probably no good.
Stage 3: Only necessitated because of a limitation of the equipment. Our press didn't have the length of travel needed to press the pins all the way out in stage 2 with the platform where it needed to be for stage 1 to work. Rather than keep moving the platform up and down, we broke the later removal up into two stages, adding a second notched block under the piston in stage 3 to make up the vertical clearance needed. There should be, and for all of ours was, a second "snap" at the very end as the last of the pin clears the rod bushing, after which it may fall clean out of the piston.
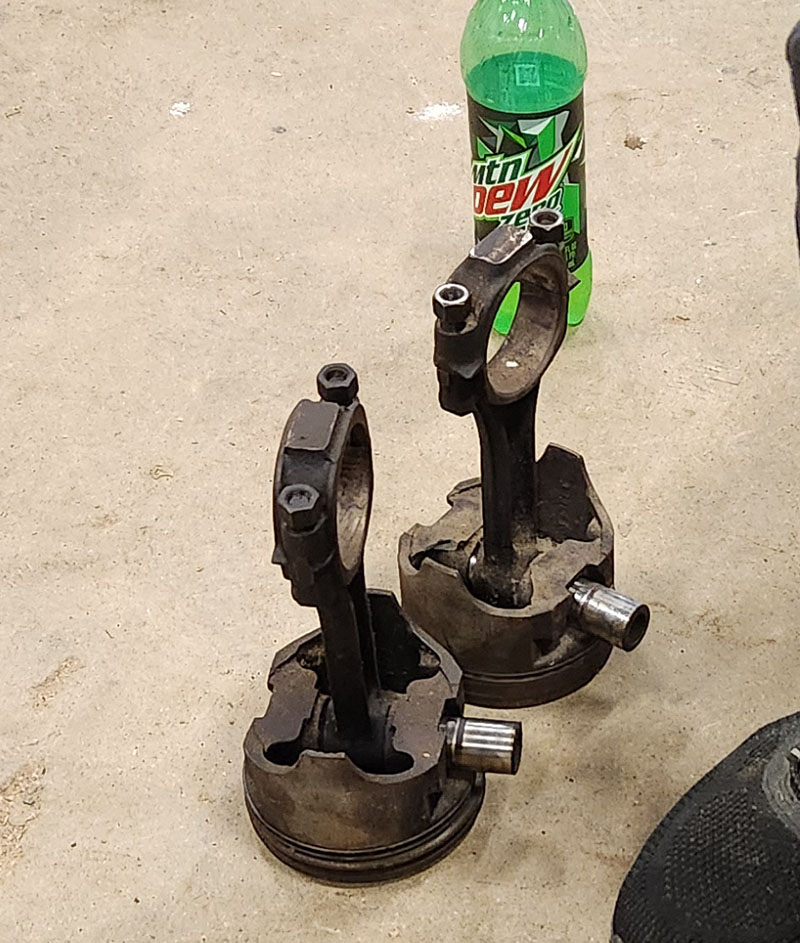
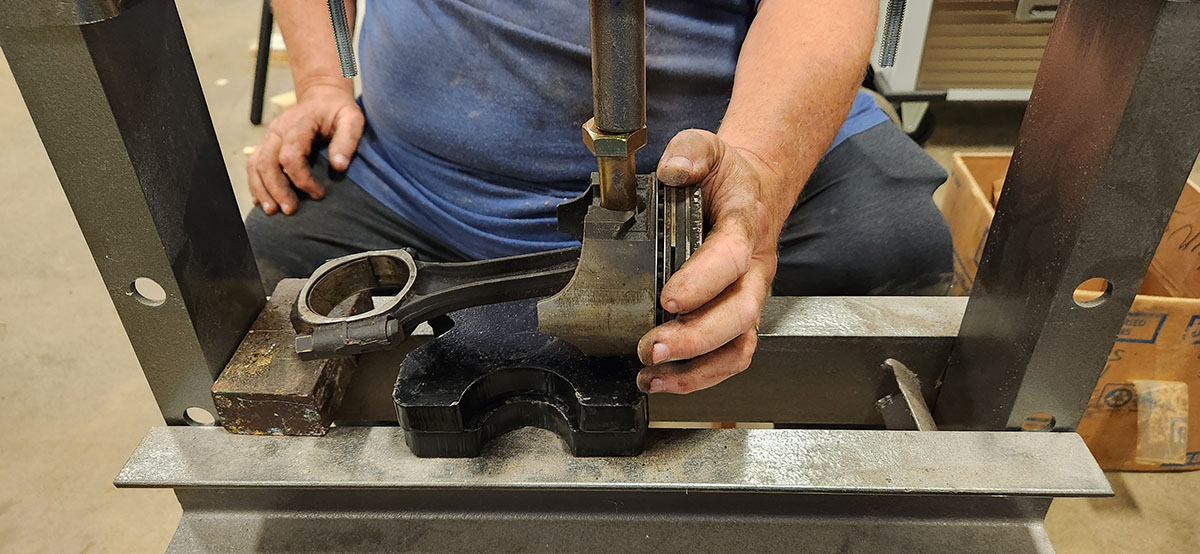
We did these stages in batches to minimize how much we had to move the equipment around. Here are a couple of pistons that have gone through stage 2, awaiting their turn for stage 3 and final pin removal, which illustrates how far out they got in stage 2. The extra bit of pin protruding out the bottom (as arranged on the press) had the added benefit of helping to locate the assembly, since it stuck down into the notches in the blocks.
(Also note the spent crew fuel canister. :)
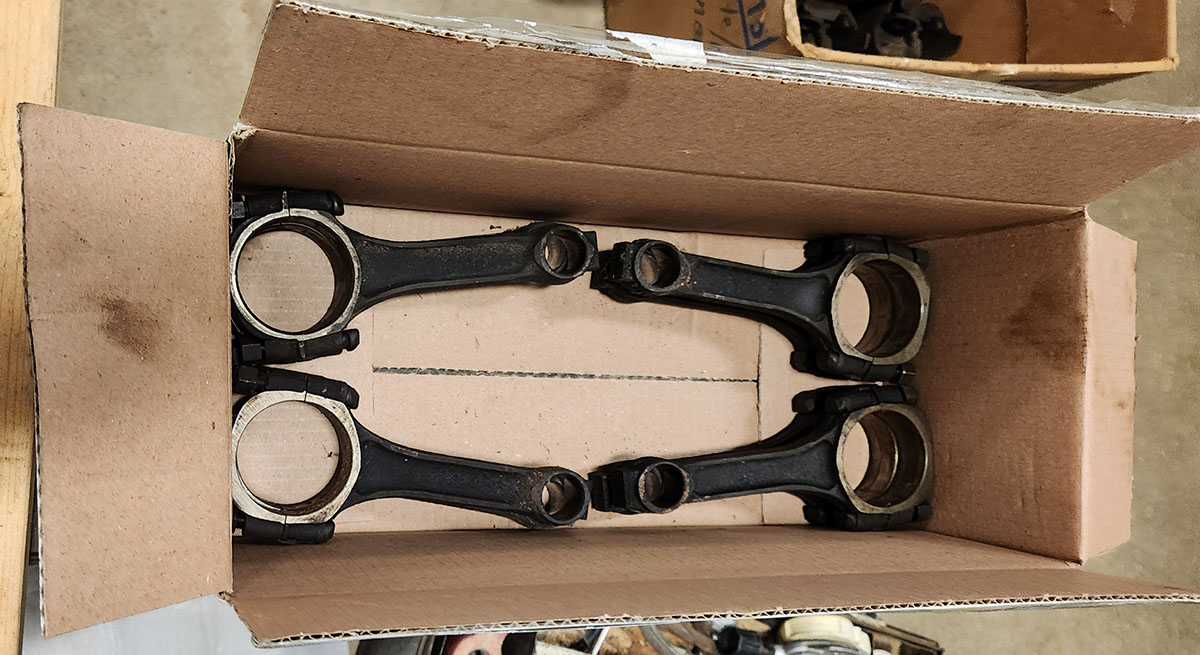
Here are the rods all lined up with pistons removed:
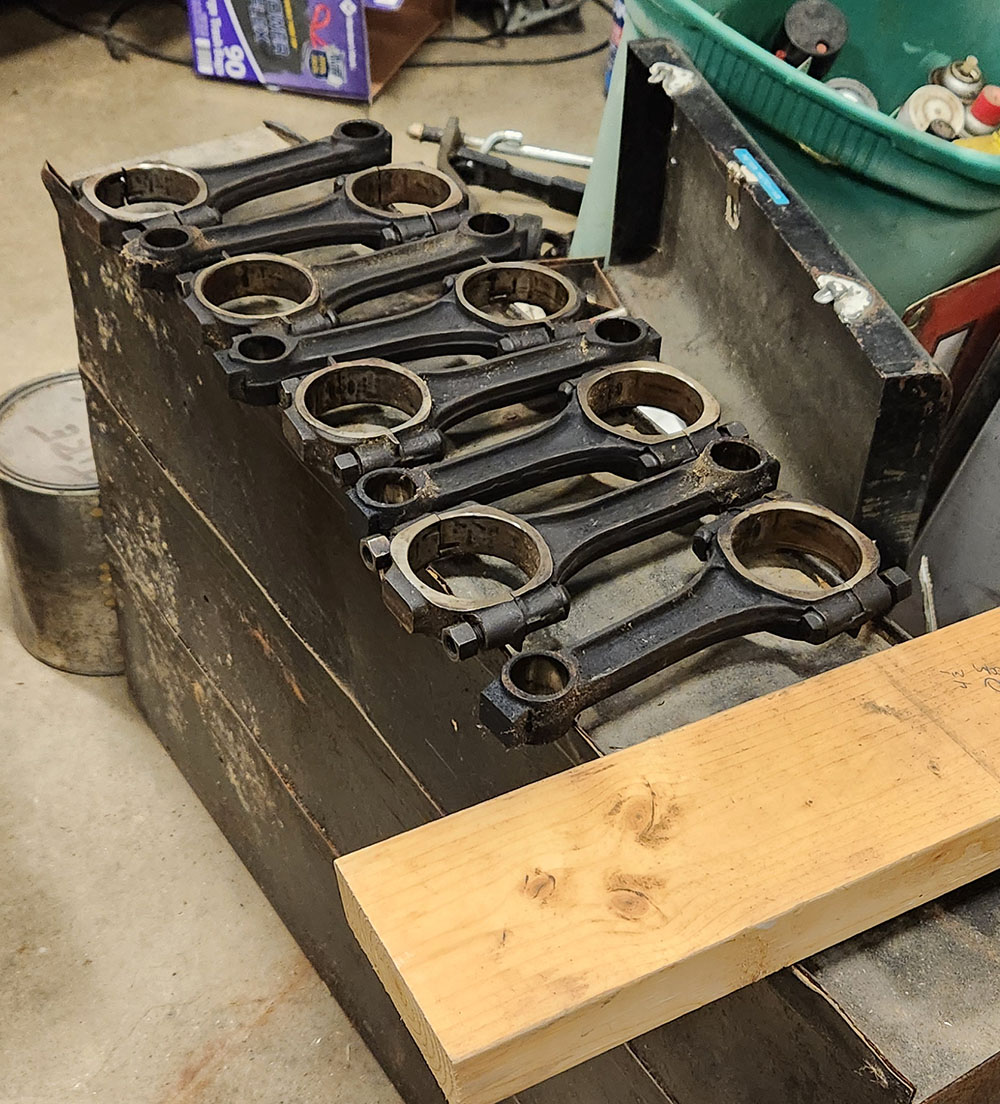
They can now be packed up and taken to the machine shop, where they'll be tested for structural integrity and reconditioned. This will include fresh bolts, since the rod bolts are designed to stretch when tightened to their proper final torque, which means they're not really safe to re-use.
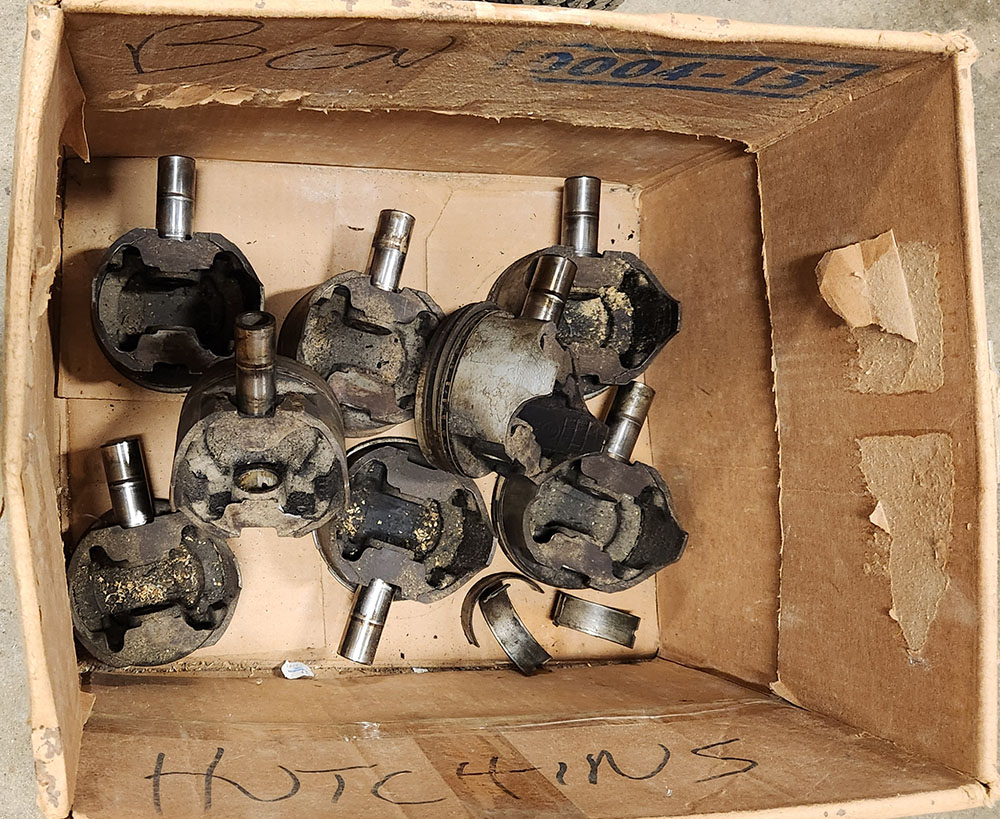
As for the old pistons and pins (as well as a few leftover rod bearings), they're now part of the growing pile of junk set aside for our eventual scrap metal run. The pistons are rusted on their faces and not worth salvaging (I think the engine sat somewhere for a while without an induction on it and water got into the cylinders--recall how rusty some of the cylinder bores were before the block went to the spa), and wrist pins and bearings are only good for one use.
After this, we spent the rest of the afternoon working on the ongoing "we need more shelves in here" project, which was necessary work but not interesting enough to photograph or write up.
As an aside, there is a heat advisory in effect hereabouts this week. The day just past, Tuesday, saw high temperatures in the 90s Fahrenheit and high humidity, but despite the VAB's complete lack of air conditioning, we did the piston job in cool, comfortable conditions. That huge expanse of concrete floor is very thick and lying directly on the ground, and it does a great job of sinking heat. Dad's going to keep an eye on it over the next couple days--tomorrow, Wednesday, we have a full-on heat emergency declared in this area, with heat indices around 107 °F predicted, and we're interested to see just how long it takes for it to get Actually Hot inside the VAB.
Of course, once it GETS that hot, that same quality of the floor will keep it that way for a while, but into each life and all that. :/
Next session is probably this weekend, but it'll most likely be more infrastructure work in the VAB, so may or may not warrant a report.
--G.
-><-
Benjamin D. Hutchins, Co-Founder, Editor-in-Chief, & Forum Mod
Eyrie Productions, Unlimited http://www.eyrie-productions.com/
zgryphon at that email service Google has
Ceterum censeo Carthaginem esse delendam.

 Printer-friendly copy


