of RTV, both under...
... and over the gasket.
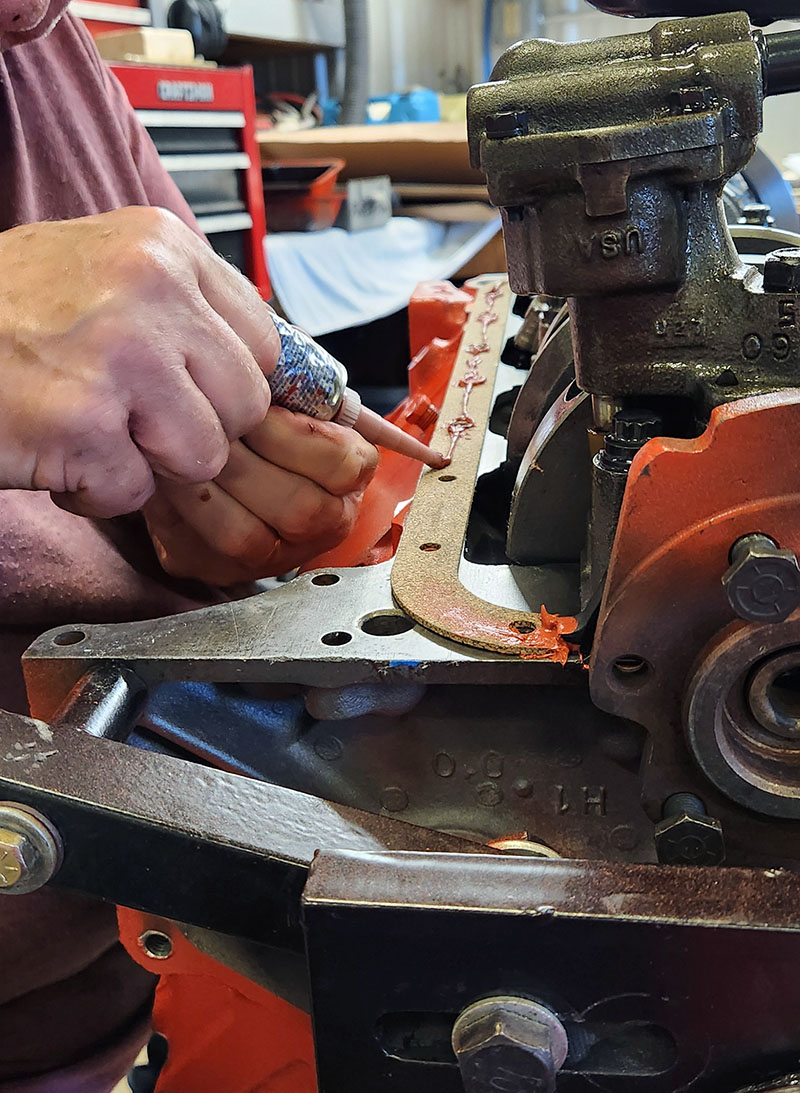
Following this, on goes the pan, and then about a million bolts (actually I think there are 18) that all need to be gently torqued. Et voilà!
With the pan on, we adjourned, and I went home to source the tool we needed. My original hope was that I could get it at one of the various tool and/or hardware stores in Bangor, where I find myself having to go twice a week lately, but annoyingly, none of them had 12-point quarter-inch-drive sockets. I ended up tracking one down on eBay and paying more for the shipping than the actual thing.
The very next day, right after receiving the "your item has shipped!" email about the socket, I was in the room at home where I keep my own tools, and my eye fell upon a Craftsman socket set I've had for literally decades (it's lived in the trunks of numerous less-than-totally reliable cars, most notably my old Ford Crown Vic) and had totally forgotten about. I opened it up and lo...
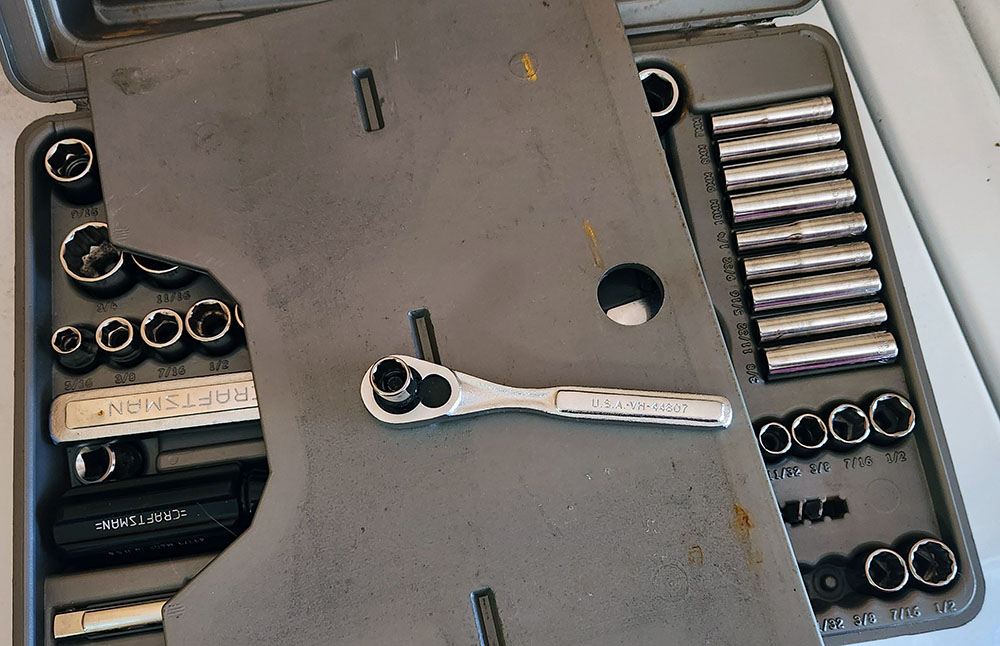
... "we have 3/8-inch quarter-inch-drive 12-point socket at home," as I believe the young persons say.
Sigh.
Well, anyway!
Session 9
Not much happened in this session. I was feeling very neurological that day, and probably should have called the whole thing off and gone back to bed for all that I was able to accomplish. On the other hand, I did have not only the eBay socket, but also a tiny universal joint, which I found at (big blue hardware store, as opposed to the big orange one) and which was also required for the task of installing the intake properly.

Now for the fun part. These bolts, which can only be reached with a quarter-inch-drive socket on a U-joint and a long extension, have to be torqued to 25 pounds-feet. The only torque wrench we have that can do that... is a half-inch drive, the biggest of the three common US socket drive sizes.
Which means that, in order to torque the manifold bolts next to the carburetor "tower", we had to assemble and use this nonsense.
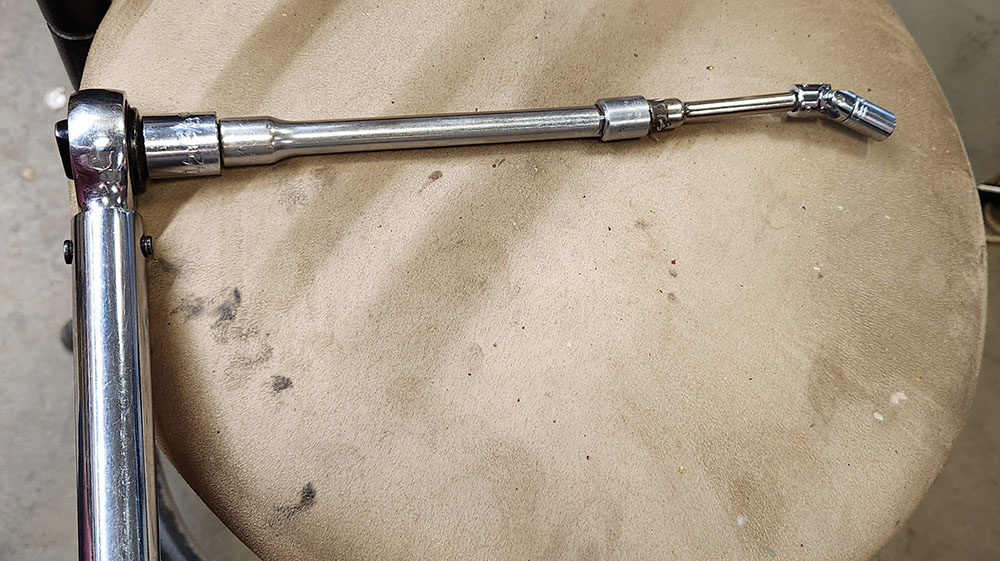
From left to right, that is:
- a half-inch drive torque wrench;
- a half-inch to 3/8-inch drive adapter;
- a long 3/8-inch-drive extension;
- a 3/8-inch to quarter-inch drive adapter;
- a quarter-inch-drive univeral joint;
- a shortish quarter-inch-drive extension; and
- the notorious quarter-inch-drive, 3/8-inch 12-point socket.
Yup. We really had to use all that to get onto the bolt, get clear of the carb "tower" and its studs, and use a big enough torque wrench to get them tightened down properly.
And it worked! So, if nothing else, we finally got the dang manifold torqued down. :)
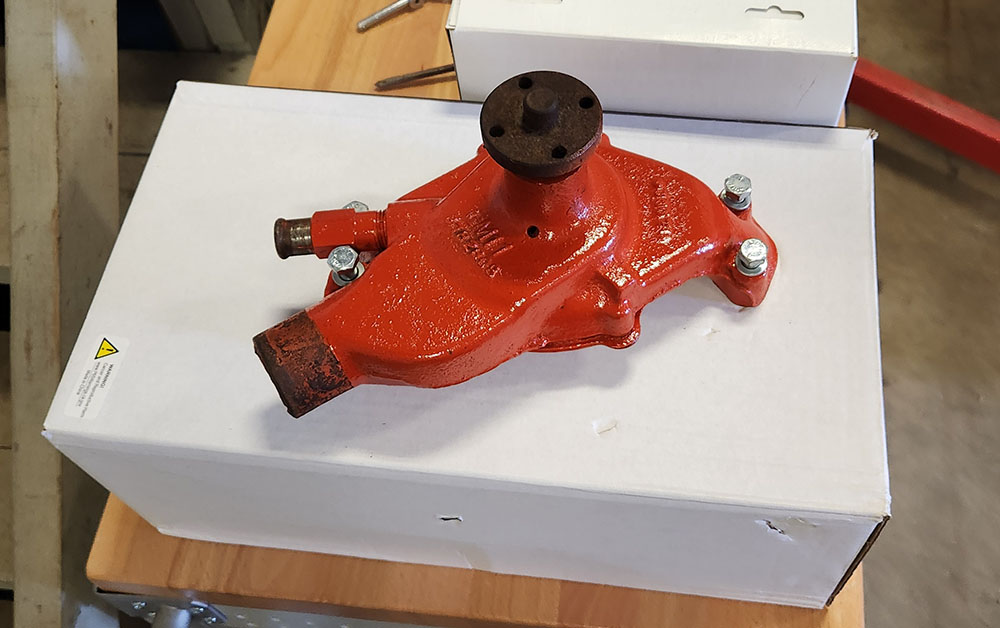
The rest of the session involved a bunch of stuff I was involved in doing, but felt too poorly to think of taking pictures. We dug the water pump we think went with this engine out of the parts store, took the back plate of it off so we could clean out the cobwebs and crap from the impeller, washed and degreased the lot, put it back together with a new gasket, and then prepped and painted it.
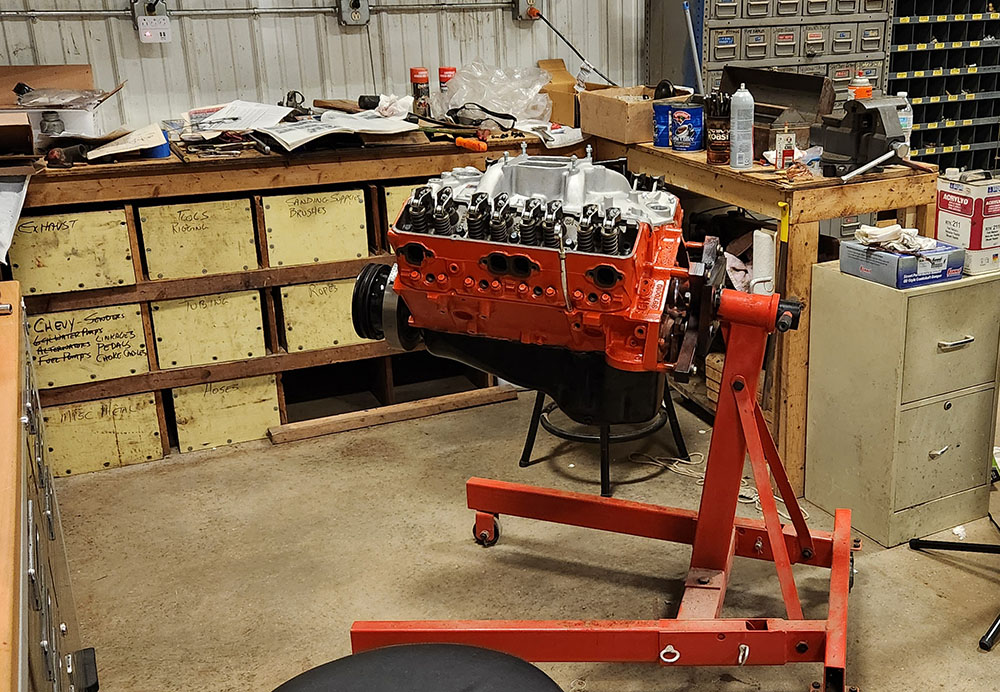
Session 10
Feeling better for this session; not amazing, but like a person instead of a damaged robot, anyway. Here's the water pump we painted last time!
Mounting this was a simple matter of applying sealant to a pair of small gaskets and then bolting it up.
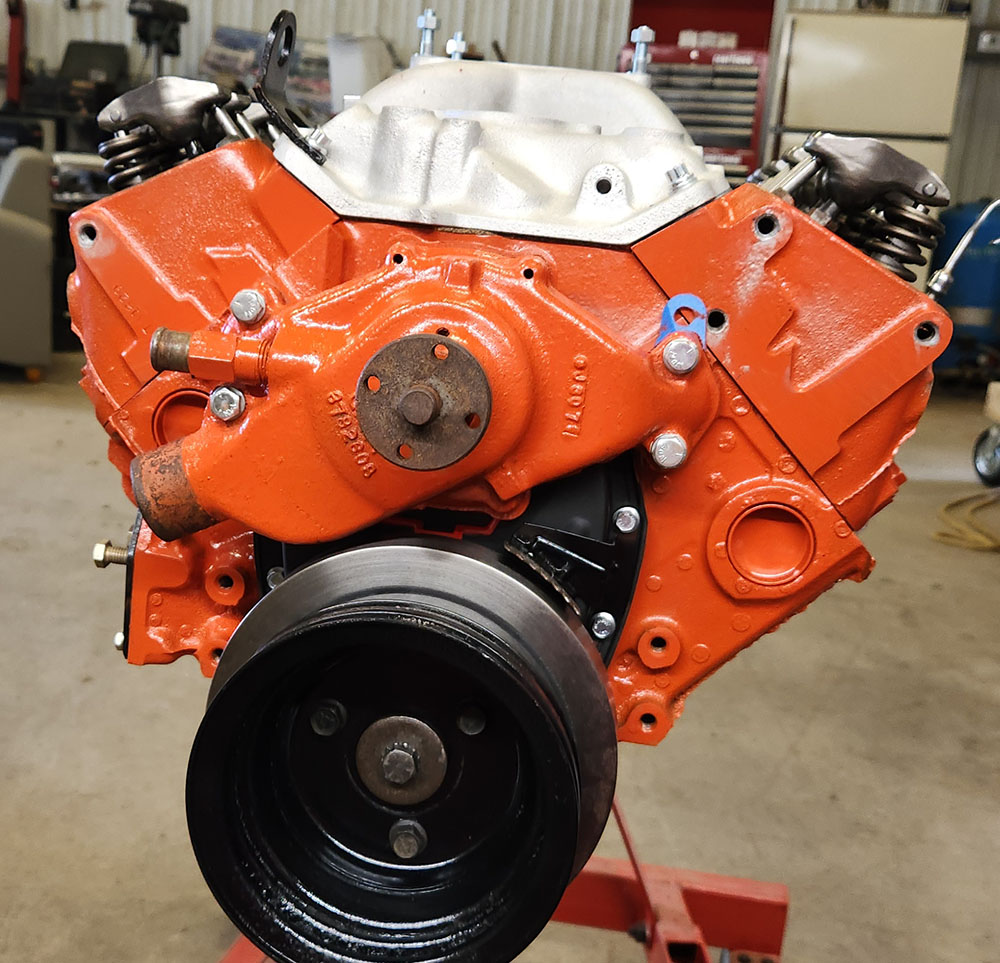
Notice a couple of things about this perfectly normal installation. First, on the driver's side (our right in this photo), the mounting point only has one water hole as opposed to the two on the passenger side... but the gasket is the same, so there's a tab sticking out with the other water hole that side doesn't have. This is really what you have to do; even the rebuild manual we're using mentions it. Evidently all gasket sets for these engines come that way, with two copies of the passenger-side gasket and no smaller one for the driver's side.
Also: the water pump almost completely covers the fancy branding on the timing cover. So... what's the point of it?
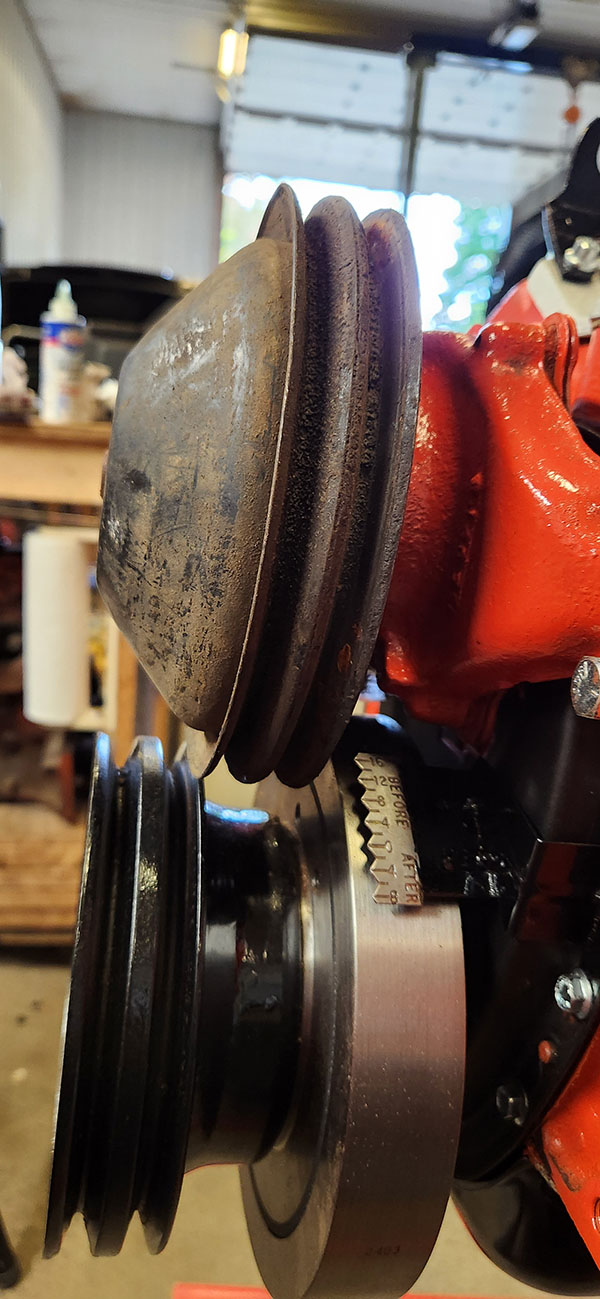
Anyway, with the water pump on, we plunged into another abyss of uncertainty, because now... we had to figure out a configuration of crankshaft and water ;ump pulleys that would actually... you know, work. You might think this would be fairly straightforward, and it probably is if you're just dealing with a stock installation you're doing some mods to or whatever. But when the engine you're building has been in pieces for 30 years and you have boxes full of stuff from three or four different engines, none of which you know goes to what now... it's kind of a mess.
For instance, this was the first of numerous available water pump pulleys we tried. The problem here should be... fairly obvious.
To make matters worse, the water pump isn't the only thing we have to get a belt on. There's also the small matter of the alternator, which charges the battery and generally makes the electrical system work. There are a lot of ways this can be mounted. Third-party vendors offer custom brackets that can hang an alternator from practically any threaded hole you might happen to find on one of these engines.
Of the jumble of miscellaneous stock ones we had in-house, most were intended to bolt their lower supports to one of the exhaust manifolds. This won't work on our engine because we're not going to use exhaust manifolds; we're going to use tubular exhaust headers, which, unlike the stock manifolds, are not heavy cast parts that have threaded holes you can bolt stuff to.
Cue the research montage, which in our shop involves cell phones with really poor data throughput. Fortunately it was a nice day and we had the big doors open, which genuinely helps because... reasons.
After a lot of digging around, both physical and digital, I found a set of brackets online that would work, and when I showed the picture to Dad, he said, "Oh! Oh! I have one of those, I know I have one of those, I've seen it... now where is it?" There followed one of those comedy physical searches that involve a lot of crashing noises and flying things in movies, and lo, he did, in fact, have a set of the brackets I had found online already.

Unfortunately, in the short term this only made even more of a farce out of trying to line everything up, to wit:
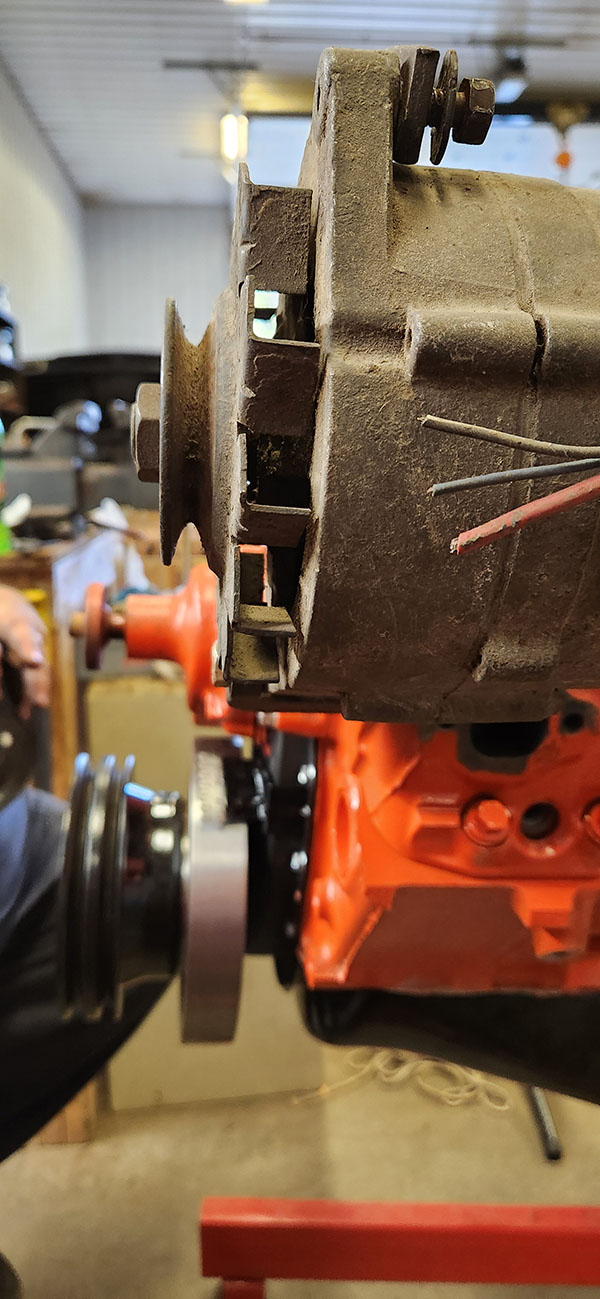
Depth-of-field makes it hard to see, but even without a pulley on the water pump in this shot, it's clear that nothing lines up with anything else.
At this point there was a lengthy game of three-dimensional chess with a variety of different pulleys and rumors of pulleys out of the collection, all of them hopelessly grubby and gross, mixing and matching until we think we've come up with a set that will work. If we can find the right length belt.
There was also a long diversion into whether we had a "short" or "long" water pump and which one we ought to be using. Turns out the one on the engine is a short, we do have a long if we need it, and after thinking we did for a little while, we eventually worked out that we didn't. We think.
I didn't get a picture of the possibly-final configuration, but it involves replacing the crank pulley with one of the others too, in place of the one we've had on it all this time. Getting eyes on the timing pointer is going to be a pain in the ass when the time comes, because the new setup fits quite close to the balancer and there's going to be a belt and a fan whirring along right in there too, but 'tis what 'tis.
Finally, we cleaned all the pulleys, brackets, and whatnot we think we'll be using, along with a fan spacer and the fan itself, and painted up the lot.
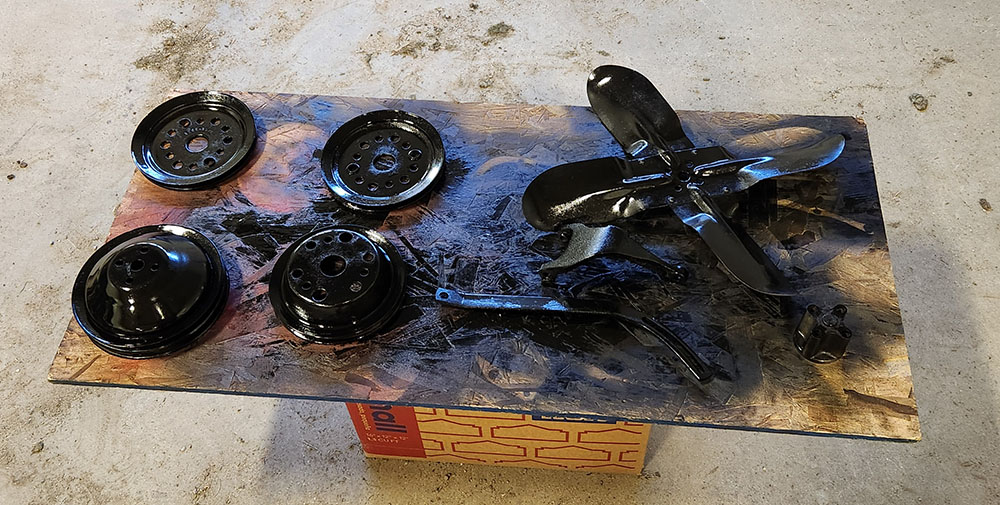
All that stuff should be ready for next time, which, what with all the other stuff we have to do away from the shop, may not be before the weekend.
--G.
-><-
Benjamin D. Hutchins, Co-Founder, Editor-in-Chief, & Forum Mod
Eyrie Productions, Unlimited http://www.eyrie-productions.com/
zgryphon at that email service Google has
Ceterum censeo Carthaginem esse delendam.

 Printer-friendly copy