Guys. Guys. Lookit lookit lookit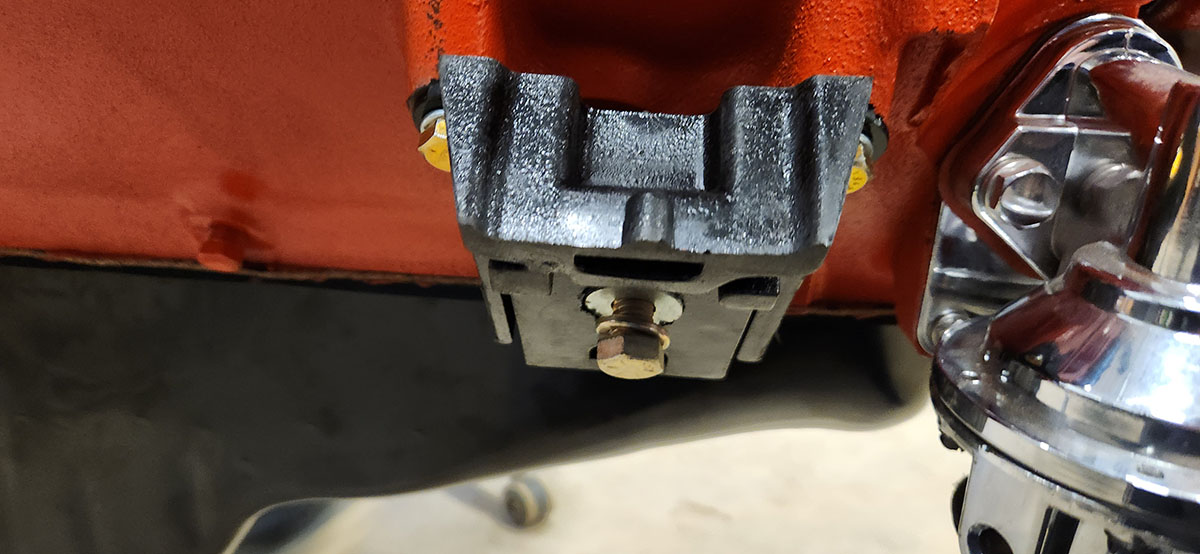
The new engine mounts came. These are steel-and-rubber winguses that go in between the brackets attached to the front subframe and the engine block. They act as vibration dampers and also provide a bit of flexibility, which allows the engine to twist slightly in its mountings in reaction to its own torque.
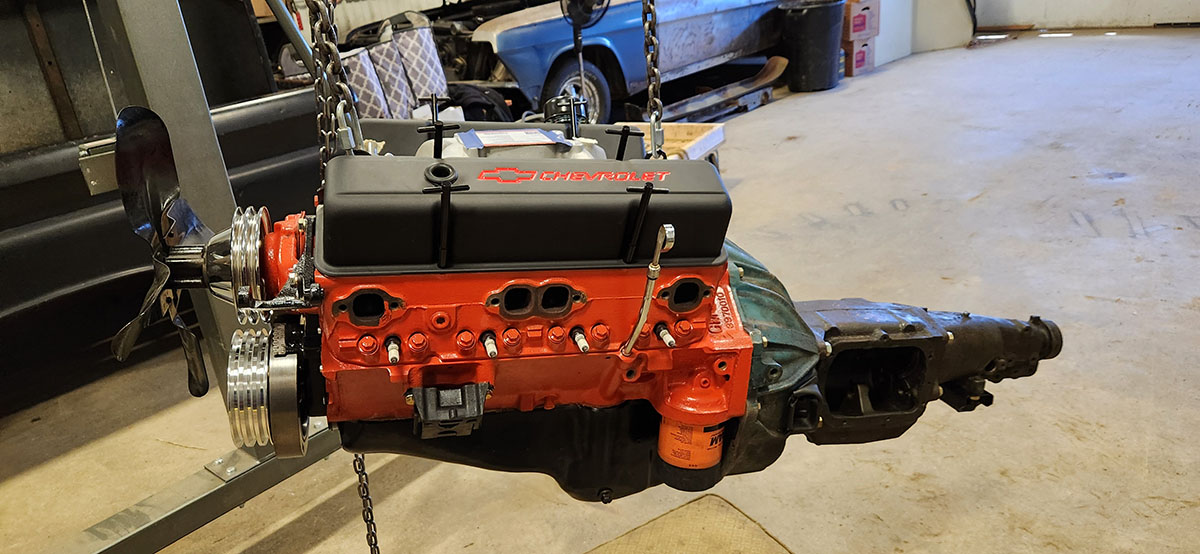
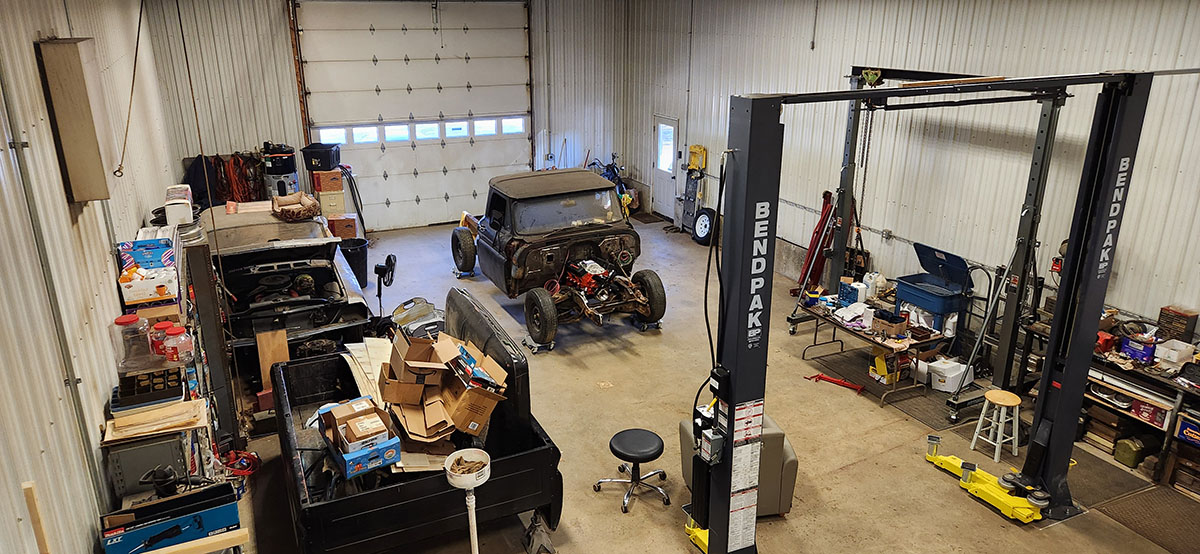
When those arrived, even though the engine bay isn't really ready yet, we couldn't resist hauling an old bell housing and the case from a worn-out transmission out of the storeroom and mocking up an install.
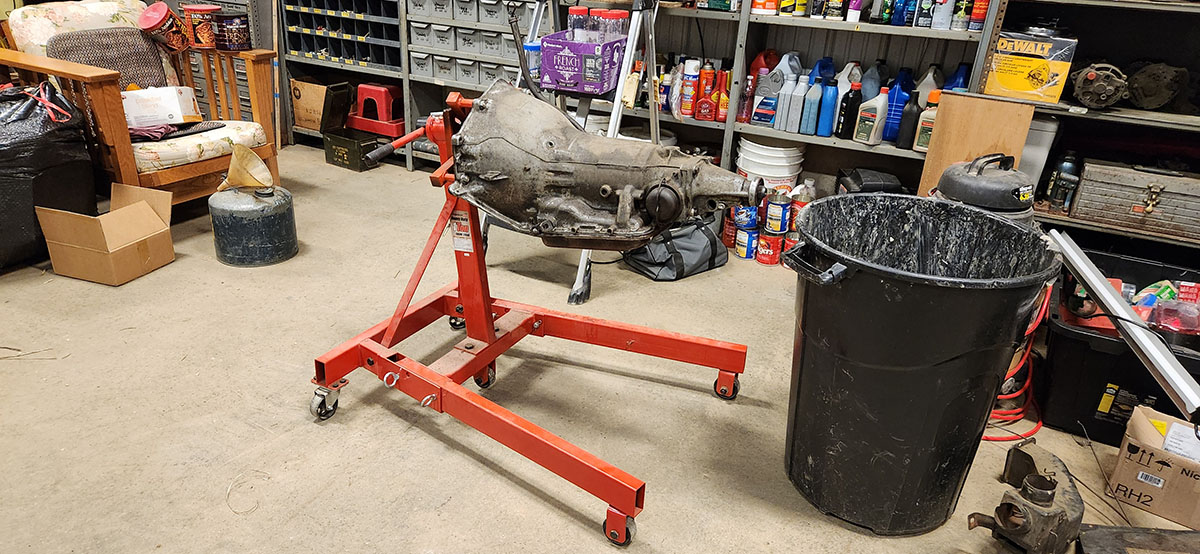
Here it is all trussed up on the crane and ready to go. Note the traces of blue paint on the bell housing, which identify it as having come from something built sometime from the mid-'70s to early '80s (probably one of the several pickups of that vintage that Dad has scrapped over the years). The transmission that was in that case used to be in this very truck, decades ago, behind the six-cylinder engine that was in there at the time.
The reason we did this is because the engine is only mounted at the front in its own right; the rear mount is actually on the tail of the transmission case. Without one of those attached, it won't sit right, but since this is just a mock-up installation, we didn't need anything that actually worked and decided to save ourselves some weight. When we build it for real, it'll probably have this old Powerglide automatic in it, but it needs to be overhauled first.
Anyway!
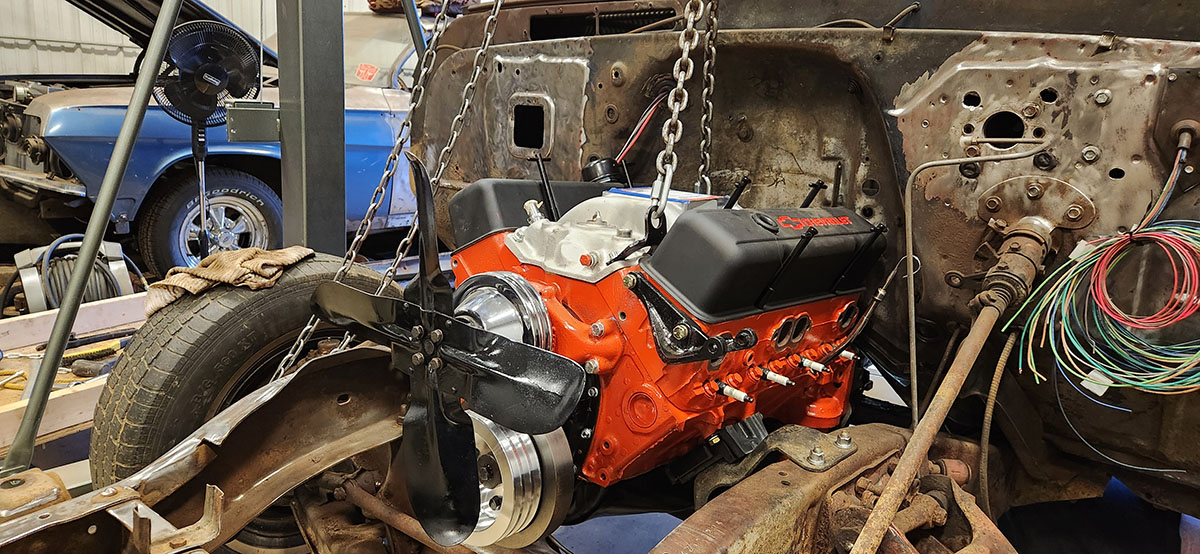
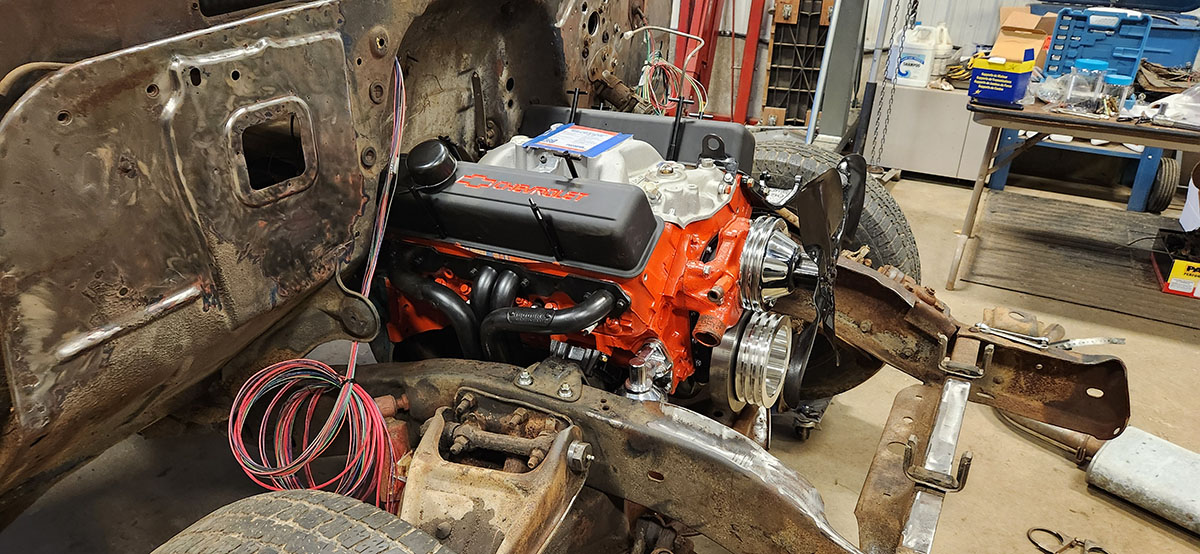
It's in there! Fits like a glove, but then that's not too surprising, given that an engine built on that exact same block was an available option in 1966. As you can see in the shot of the passenger side, the Hedman exhaust headers (excuse me, Hedman calls them "hedders", because of course they do) bolt up with no trouble at all, which is not always the case with aftermarket headers.
Next we need to tackle all the other stuff that an engine needs in order to run--fuel, electrical, cooling, exhaust--and we can find out whether it actually runs, using the truck itself as a test stand. Then it'll have to come back out so we can do the metal work on the cab, which is kind of making extra work for ourselves, but, I mean... are we going to not take the chance to hear it run? :)
--G.
-><-
Benjamin D. Hutchins, Co-Founder, Editor-in-Chief, & Forum Mod
Eyrie Productions, Unlimited http://www.eyrie-productions.com/
zgryphon at that email service Google has
Ceterum censeo Carthaginem esse delendam.

 Printer-friendly copy


 Sessions 10–12
 RE: Sessions 10–12