LAST EDITED ON Aug-14-24 AT 02:30 AM (EDT)
The thing about painting an engine is, there are lots of places on an engine where you don't want paint. Not only do you need to keep it out of the actual rotating assembly, there are plenty of other spots that have to be protected. Threaded holes, for instance. Various fittings and ports where things will be attached later. The intake and exhaust ports on the heads. The holes where the spark plugs go. There's a lot to keep track of.With that in mind, it took us most of the afternoon yesterday (uh... Monday) just to get the dang thing prepped for painting.
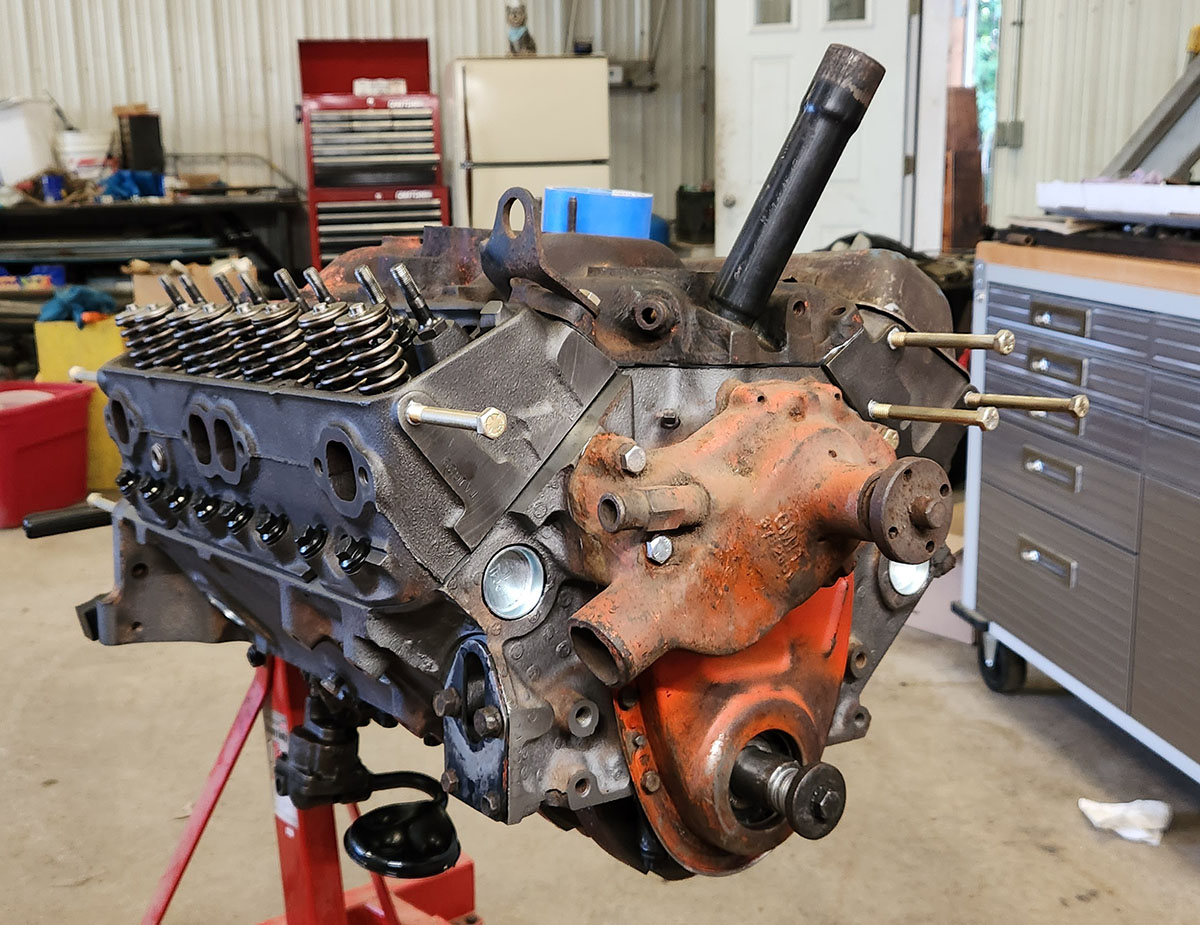
Some of it was easy, if a bit tedious. For most of the threaded holes that we weren't going to be attaching anything to just now, we just used long bolts with the same thread sizes, which made the engine look a bit silly, but reinforced the idea that they were only temporary. Also, we used the old, no-longer-serviceable timing cover and threw on one of our several random water pumps, just to cover up the works. In this application, it didn't matter that that timing cover can't make an oil-tight seal any more; it was just there to keep overspray off the timing stuff.
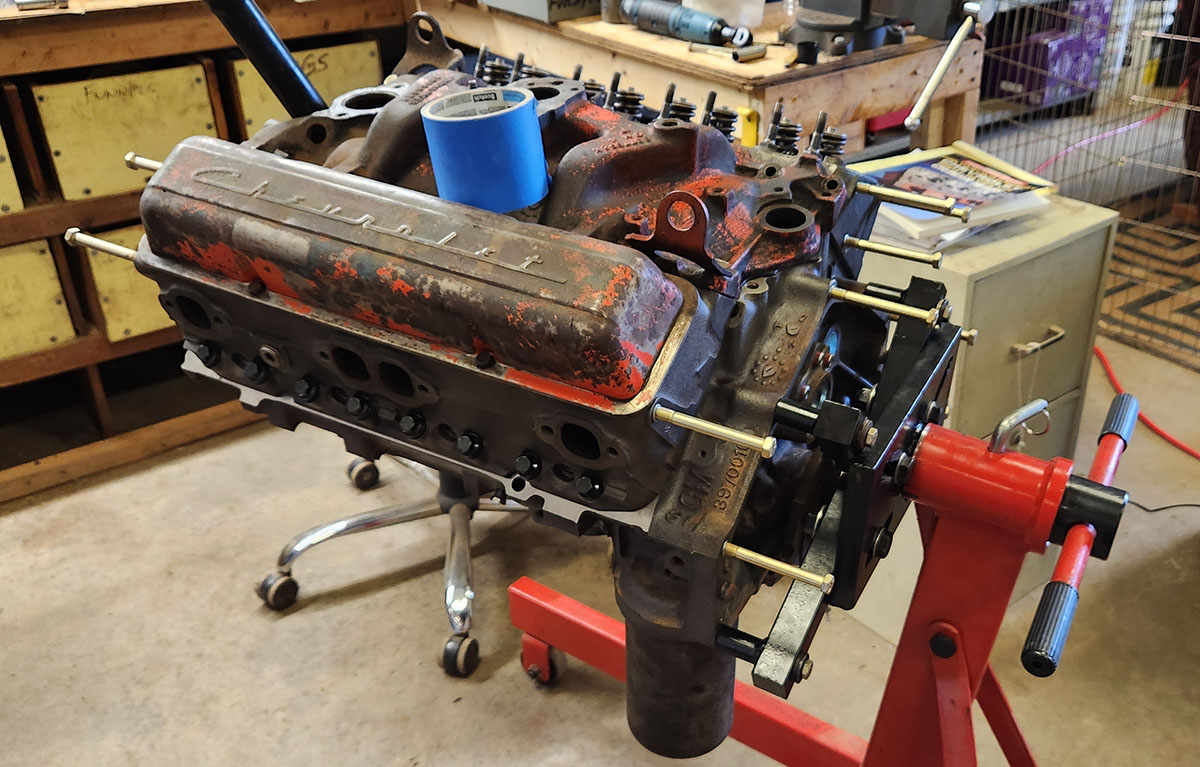
Elsewhere, we used more long bolts, an old oil filter enclosure, and some out-of-service valve covers. I'm very fond of these vintage valve covers with the script logotype on them, but this set has a couple of rust holes and had to be retired. We might repaint them and put them on the wall someplace.
As an aside, that old oil filter can is kind of neat. Before the invention of the modern spin-on disposable oil filter, cars had things like that on them. It's just an empty metal can screwed onto the engine with a long bolt through the middle. Back in the day, you could get a filter cartridge that went inside, and it was that part you took out and threw away rather than replace the entire assembly. When the spin-on type was developed in the mid-'60s, rather than rework the castings for the engines then in production, GM developed an adapter for them that screwed on where the can used to be, so blocks from the early '70s like this one can take either type. Operationally, we'll be using the modern type; as with the other stuff, we put the can on just to keep paint out of the filter housing.
Then came the time to put on an oil pan. We were going to use the one we intended to put on the finished engine, since we were planning to paint it black later anyway, but when we went to put it on, we made an unexpected discovery: it turns out that not all small-block Chevy engines have the oil dipstick on the same side. Our 1972 350 block has the fitting for same on the driver's side...
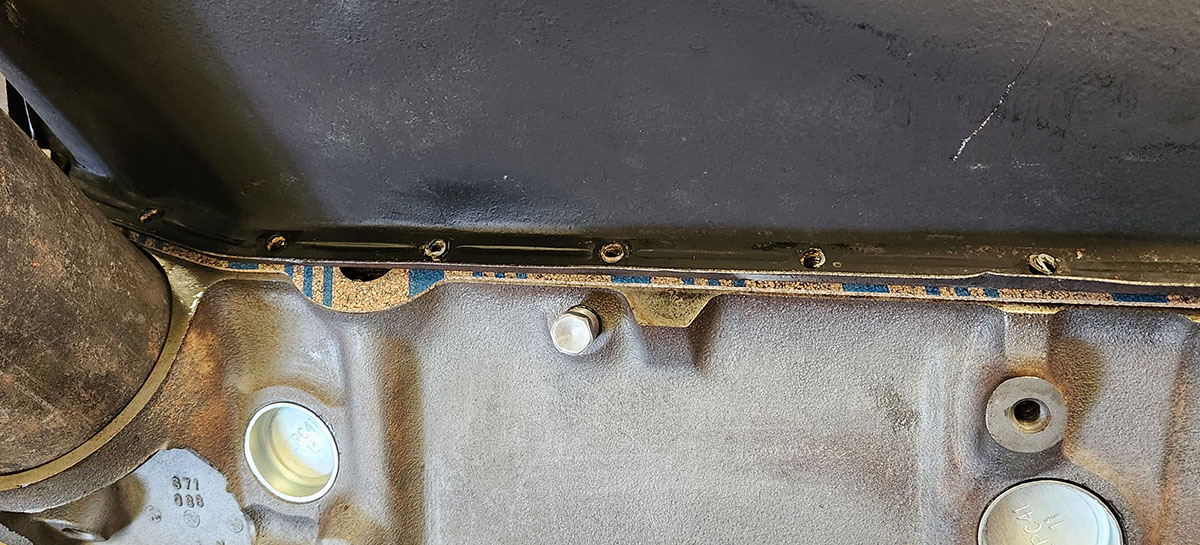
... and the pan doesn't have the corresponding bulge there. On this pan, which we think came from an '80s 305, it's on the other side.
I'm not too surprised that I didn't know that, but my father, who's been working with these engines since he was a teenager in the 1960s, had never run across it either!
So, we're going to have to buy a new oil pan. This isn't really a problem--they're neither hard to find nor expensive--but it left us with the question of how to cover the important parts of the engine it's meant to cover while we painted.
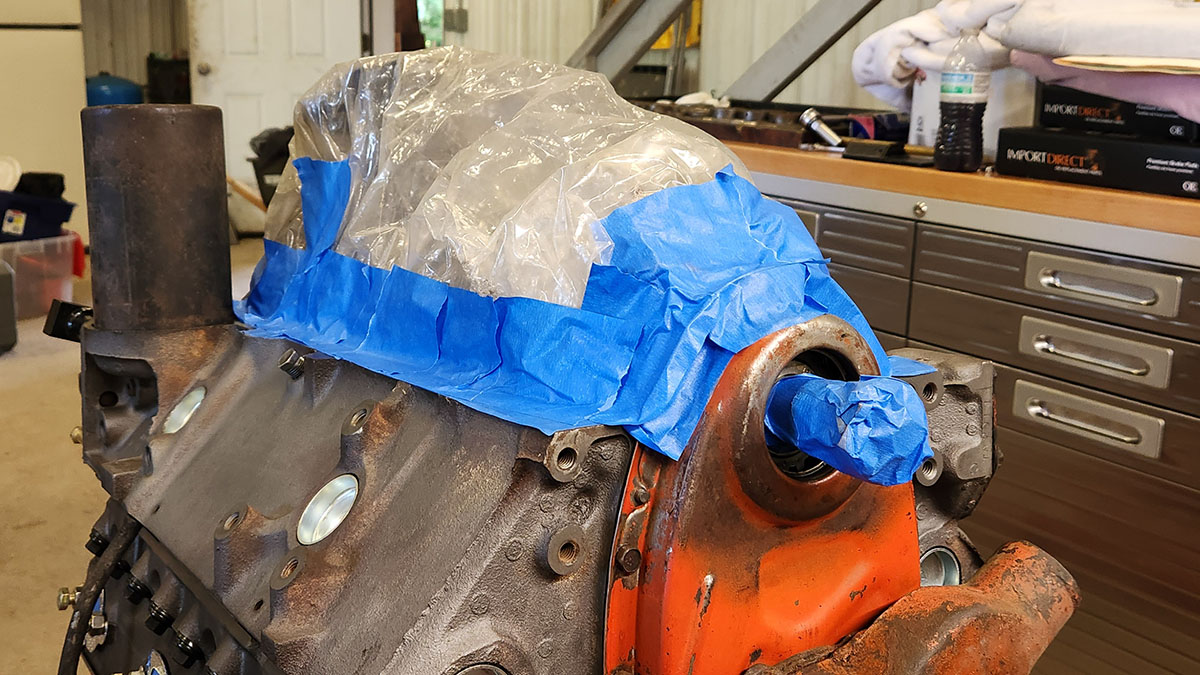
I don't think our revolutionary new synthetic oil pan technology is going to catch on in the aftermarket, but it's good enough for what it's for.
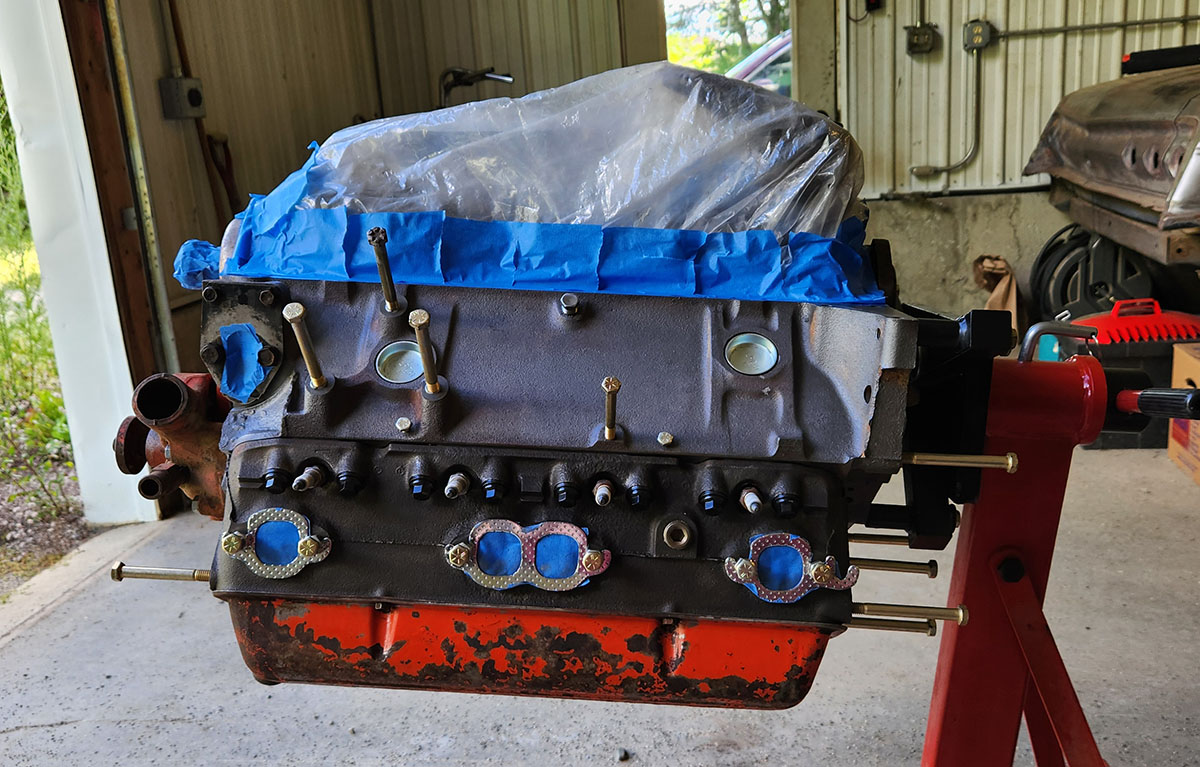
Here it is right before painting commenced; we took it out to the front of the shop with the big door open, for maximum fresh air. This view also shows how we protected the exhaust ports on the heads: some extra manifold gaskets we had lying around, with the holes in them blocked with tape. We're probably going to use headers rather than the stock exhaust manifolds those gaskets go with, anyway.
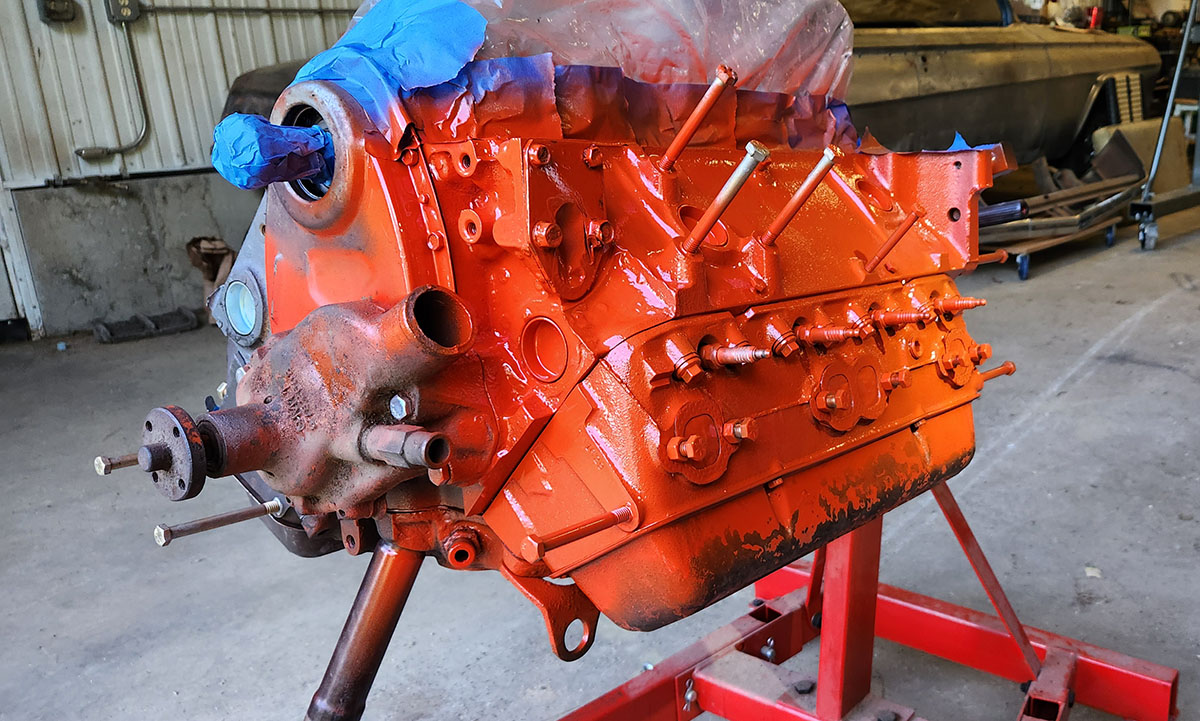
The same side after paint was applied. I'm by no means an expert with a spray can, and there are a lot of stupidly complicated surfaces on these things that are a pain to get from every necessary angle, so I ended up with quite a few drips and runs. The worst of them, I dabbed off with a paper towel and sprayed one more time to even them out, and I think for the most part I got away with it.
This color is (a modern aftermarket approximation of) the standard orange-red that most Chevrolet smallblocks were painted in the 1960s and early '70s. You can see from the old paint left on the water pump, timing cover, and valve covers that the engines they came off were all painted that same color at one time. In the mid-'70s, it was replaced with a medium blue color called Corporate Blue, which seems to have been based on the blue in the GM logo of the period.
I've seen some sources that claim the 327-cubic-inch engines available in pickups in 1966, the closest thing to a 350 that existed in that year, were painted surf green, but others say they were grey and the rest say they were regular orange-red. Chevrolet might have had a color standard for these things, but I think in practice, it probably came down to whatever paint the engine plant's paint department had on hand that day. :)
When we go around to the other side, you'll see one of the other unexpected problems we ran into.
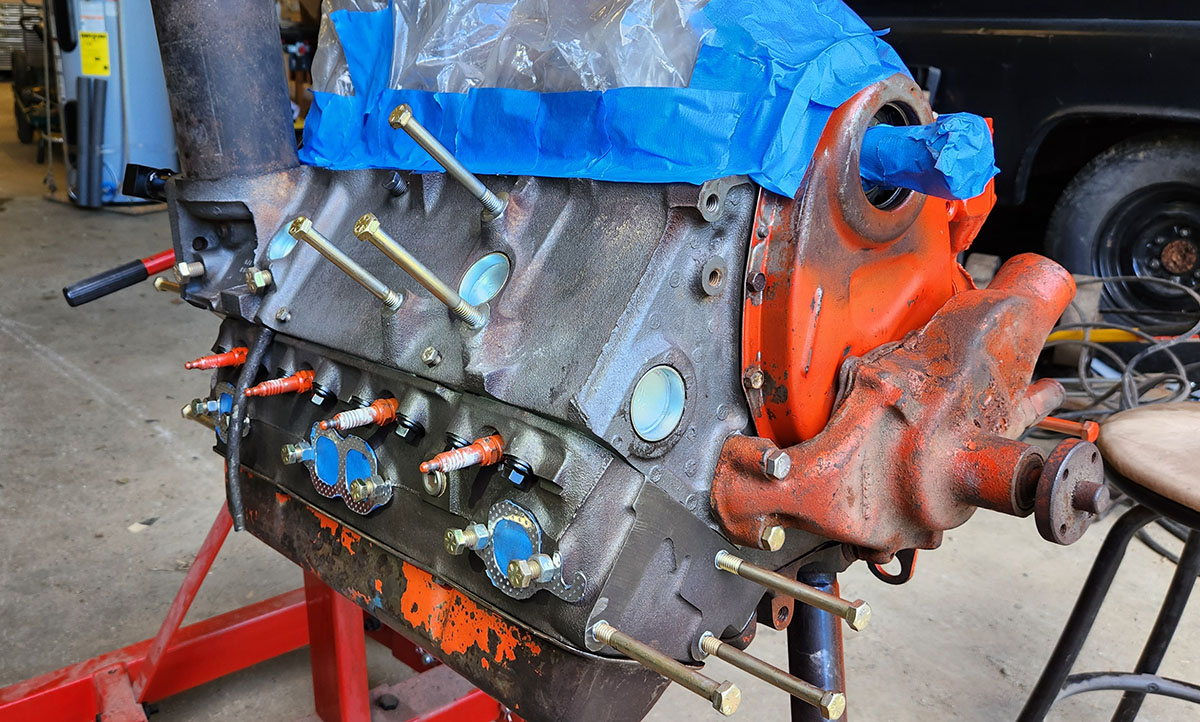
You'll note that the spark plugs on this side are already painted. This is because, for no reason we can think of, we could only find five junk spark plugs that fit this block. Why didn't they get thrown out if they're no good? Because Dad. What happened to the other three? No idea. Anyway, we had to use four of them and switch them to the other side before painting it. Then switch them back when we rolled the engine upright and painted the top of the first side, and then one more time to finish it off. Which was kind of a pain, but, y'know, whatever.
With painting operations complete, we rolled the engine stand back to the lab and took all the placeholder parts and masking stuff off while the paint was still wet, so as to get the cleanest edges. Et voilà!
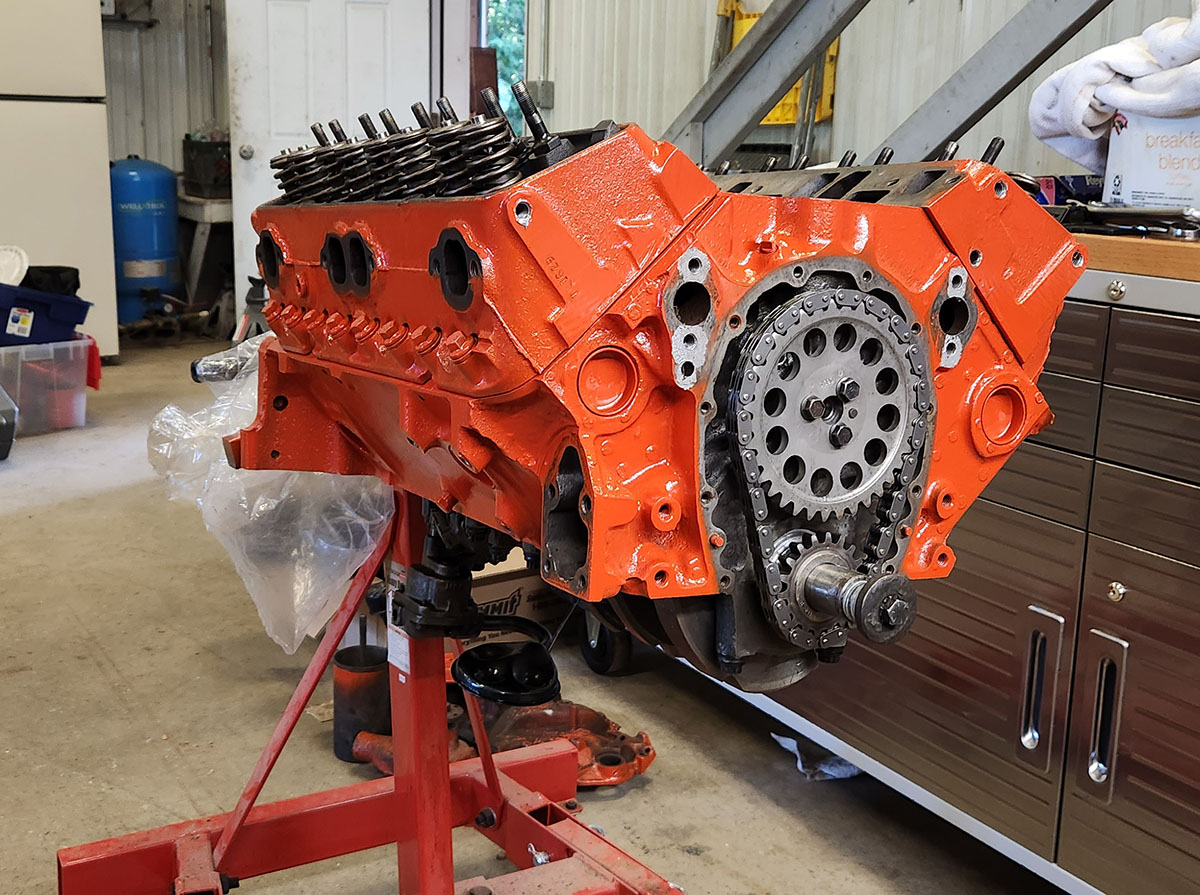
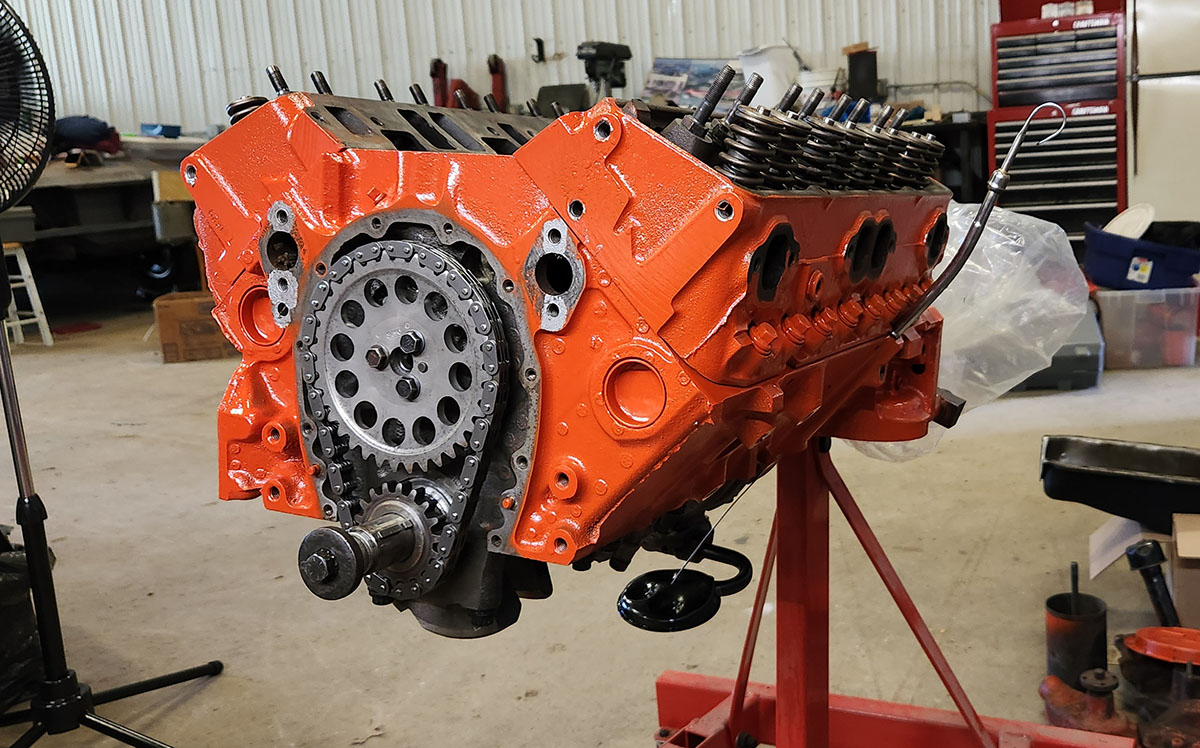
Note the shiny new dipstick tube, which we put in place to check the fit. The dipstick it came with, a bit oddly, will go into the tube either way around, but if put in the opposite way to the one shown here, with the handle loop curving inward, it comes into the crankcase at such an angle that it hits one of the crankshaft counterweights. That wouldn't be great (or give an accurate reading), so I hope we remember that it only goes in this way...
It was getting pretty late by the time we finished that, and anyway, there wasn't much more we could do with the paint still wet, so we put in a bit of time cleaning up the clutter of tools and whatnot in the lab area and called it a day. I think next time it'll be time to install the rest of the valve train and start getting all that nonsense adjusted...
--G.
-><-
Benjamin D. Hutchins, Co-Founder, Editor-in-Chief, & Forum Mod
Eyrie Productions, Unlimited http://www.eyrie-productions.com/
zgryphon at that email service Google has
Ceterum censeo Carthaginem esse delendam.

 Printer-friendly copy


